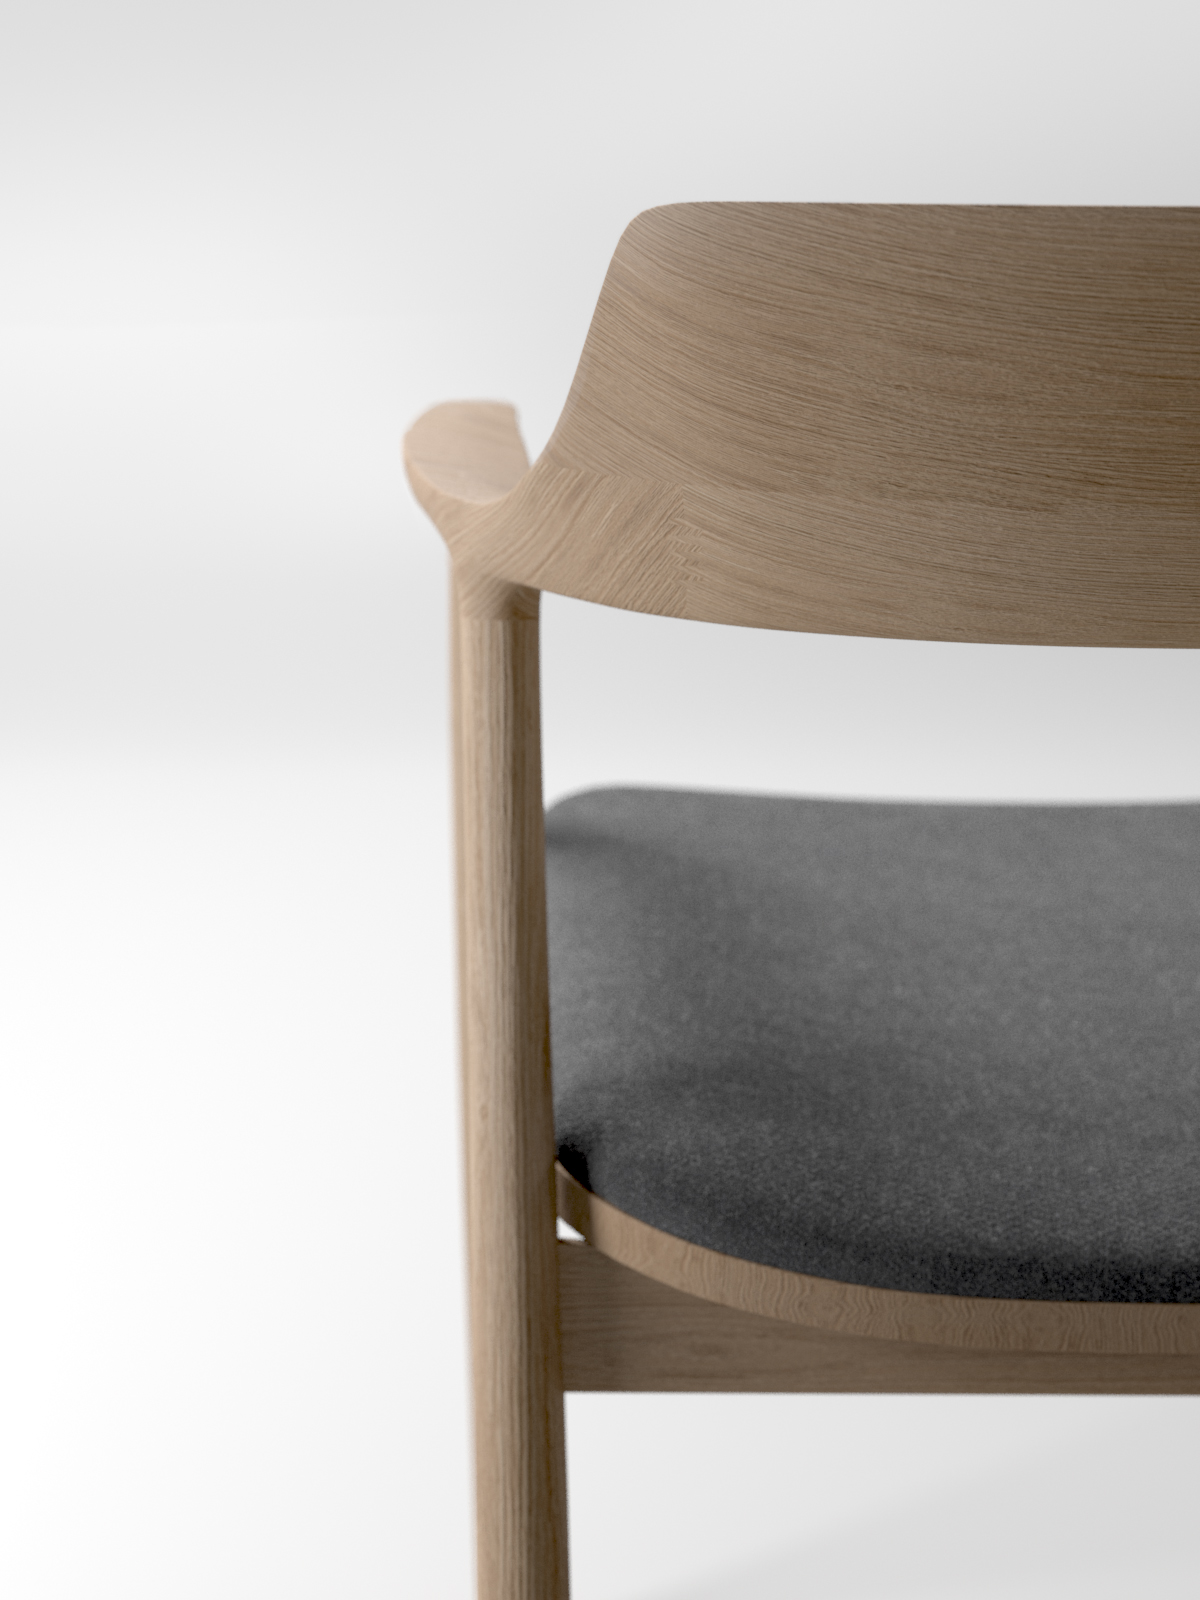
Poliigon has started creating fabric textures with Object ID maps. They add a more convincing look on your fabric, and they are really easy to create your self. In Arnold render you can connect these to the coat layer in standard surface and I really like the result that gives.
I show how I used it to create a wool material for a Hiroshima Chair by Naoto Fukasawa.
If you have a material suggestion, write it in the comments :)
Here is the free Fleece texture: https://www.poliigon.com/texture/2332
(and I have nothing to do with their site :)
Cinema 4D https://www.maxon.net/en/
Arnold Render https://www.solidangle.com/
Photoshop/Illustrator http://www.adobe.com/